How to Easily Set Up a Good Beginner Programming Environment in 2026 (Step-by-Step Guide)
Last Updated: 2026
Who This Guide Is For
This guide is for:
- Absolute beginners
- Self-taught developers
- Computer science students setting up their first machine
- Linux/Windows users starting from scratch
Why Your Programming Environment Matters
If you’re serious about learning to code, your programming environment matters more than you think.
A Messy Setup Leads To:
- Confusion — You won’t know whether errors are coming from your code or your environment.
- Broken Tools — Version mismatches can prevent programs from running.
- Frustration — Repeated failures can make programming feel impossible.
- Wasted Time — You debug installations instead of building projects.
A Clean Setup Gives You:
- Focus — Energy goes into problem-solving, not troubleshooting.
- Speed — Efficient workflow compounds over time.
- Confidence — When something breaks, you know it’s your code.
- Fewer Technical Headaches — Stable tools reduce system conflicts.
This guide shows you exactly how to set up a beginner programming environment in 2026.
Beginner-safe. Simple. Future-proof.
Editor + Git + Language + Terminal + Structure = Clean Dev Environment
Step 1: Install a Code Editor
Your editor is your workspace.
For most beginners, the best starting point is Visual Studio Code.
👉🏾 Download and Install VS Code.
If you want a breakdown of why it’s recommended and how it compares to other tools, check out:
Essential Free Programming Tools in 2026
Why Your Code Editor Is the Foundation
Your editor becomes:
- Your debugging center
- Your Git control panel
- Your file manager
- Your extension ecosystem
Choosing a stable, widely supported editor ensures you won’t outgrow it.
Step 2: Install Git and Connect to GitHub
If coding were a video game, Git would be your save button.
Git allows you to:
- Undo mistakes
- Experiment safely
- Maintain project history
GitHub stores your projects online and builds your portfolio.
Basic Setup
- Download and Install Git
- Create a GitHub account from the Website
- Configure Git:
git config --global user.name "Your Name"
git config --global user.email "youremail@example.com"
- Create your first repository.
Why Learning Git Early Changes Everything
Without Git:
- You overwrite files
- You lose working versions
- You fear experimentation
With Git:
- You experiment safely
- You track history
-
You build real-world habits
Step 3: Install Python (Beginner-Friendly Language for 2026)
You need a language runtime. Python remains one of the best beginner choices.
Why Python?
-
Clean and Readable Syntax
- Less time fighting syntax
- More time understanding logic
- Faster confidence building
-
Massive Ecosystem
You can use Python for:
- Web development (Django, Flask)
- Automation
- Cybersecurity
- Data science & AI
- CLI utilities
-
Beginner-Friendly but Industry-Respected
Python is widely used in:
- Web apps
- SaaS(Software as a Service) platforms
- Back-end systems
Installation Guide
Windows
- Download from: Download Python from the official website: https://python.org/downloads.
- Follow the installer
- ✅ Check “Add to PATH”
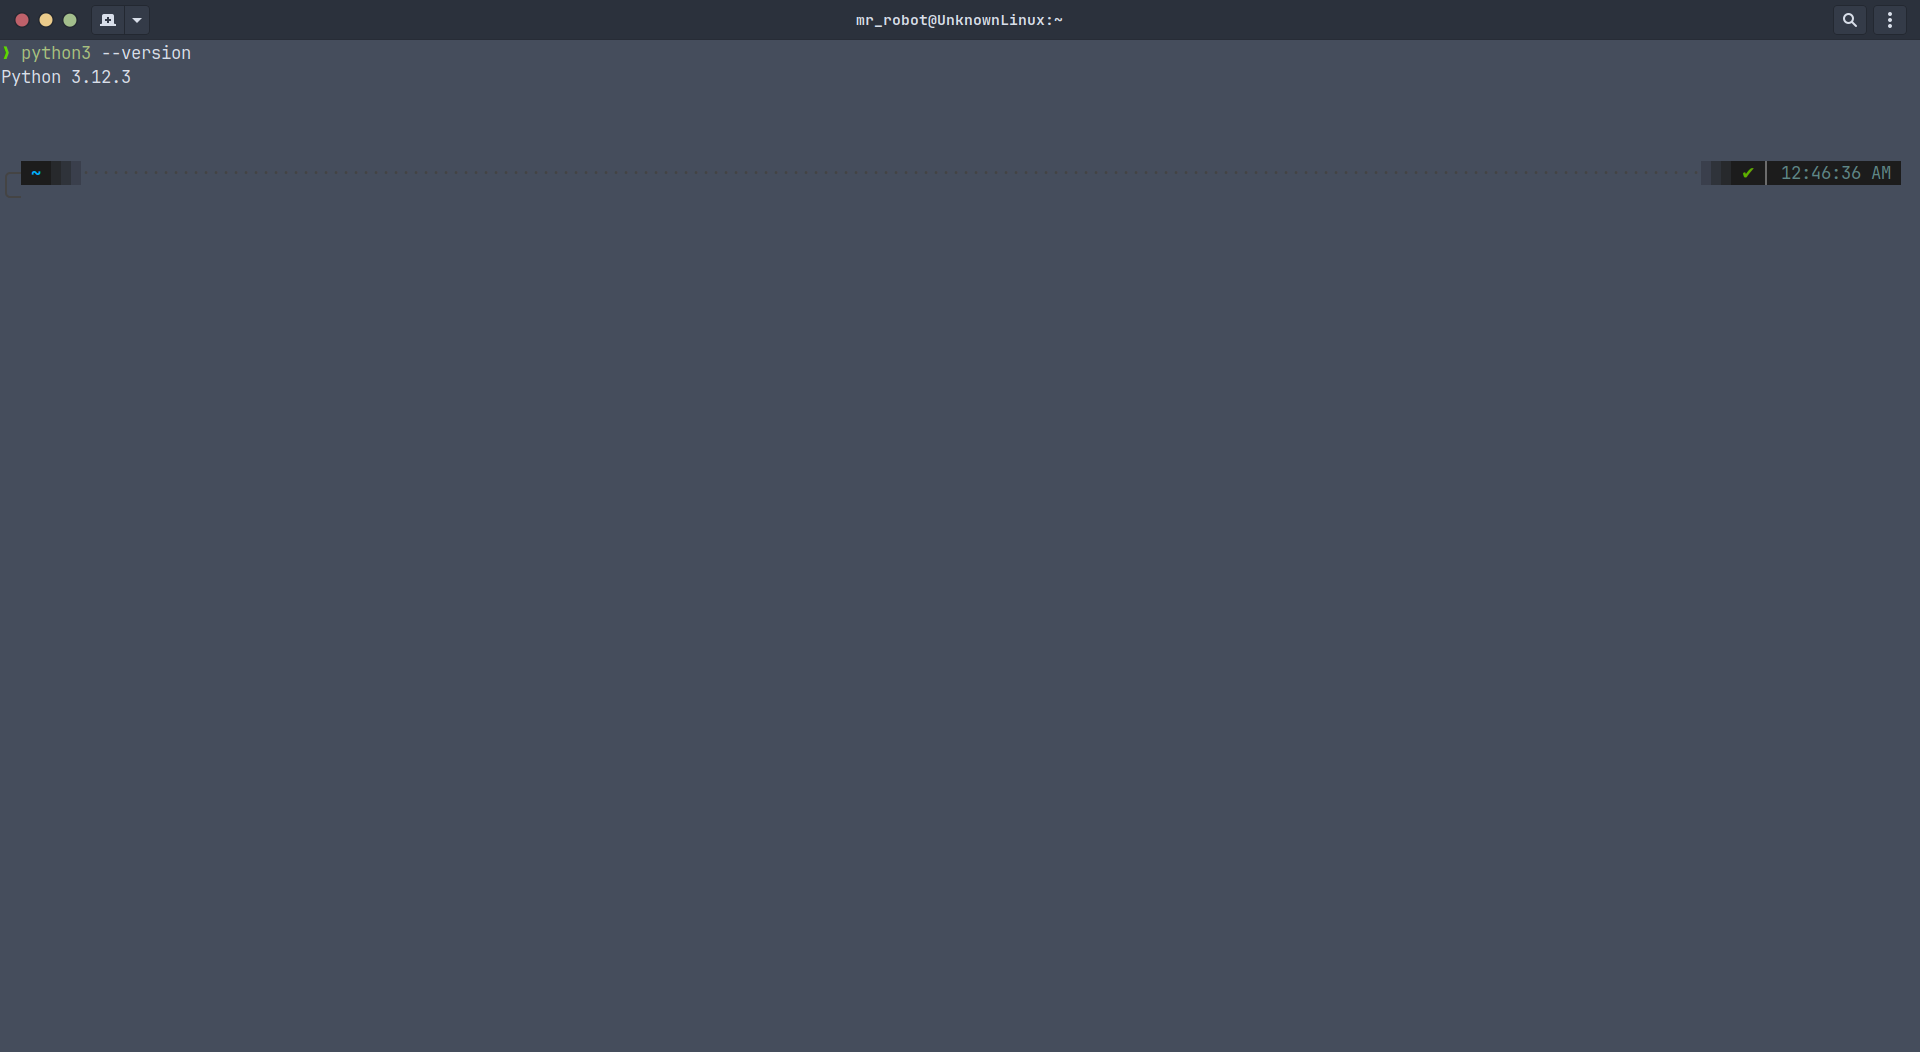
- Verify installation:
python --version
Linux
Most distributions already include Python.
Check:
python --version
or
python3 --version
If not installed (Debian/Ubuntu):
sudo apt install python3
Why Verification Matters
Verification:
- Confirms correct installation
- Builds debugging awareness
You’re learning how environments behave.
Step 4: Learn Basic Terminal Commands
The terminal is not optional.
You’ll use it to:
- Navigate directories
- Run programs
- Use Git
- Install packages
- Manage environments
- Debug issues
Essential Beginner Commands
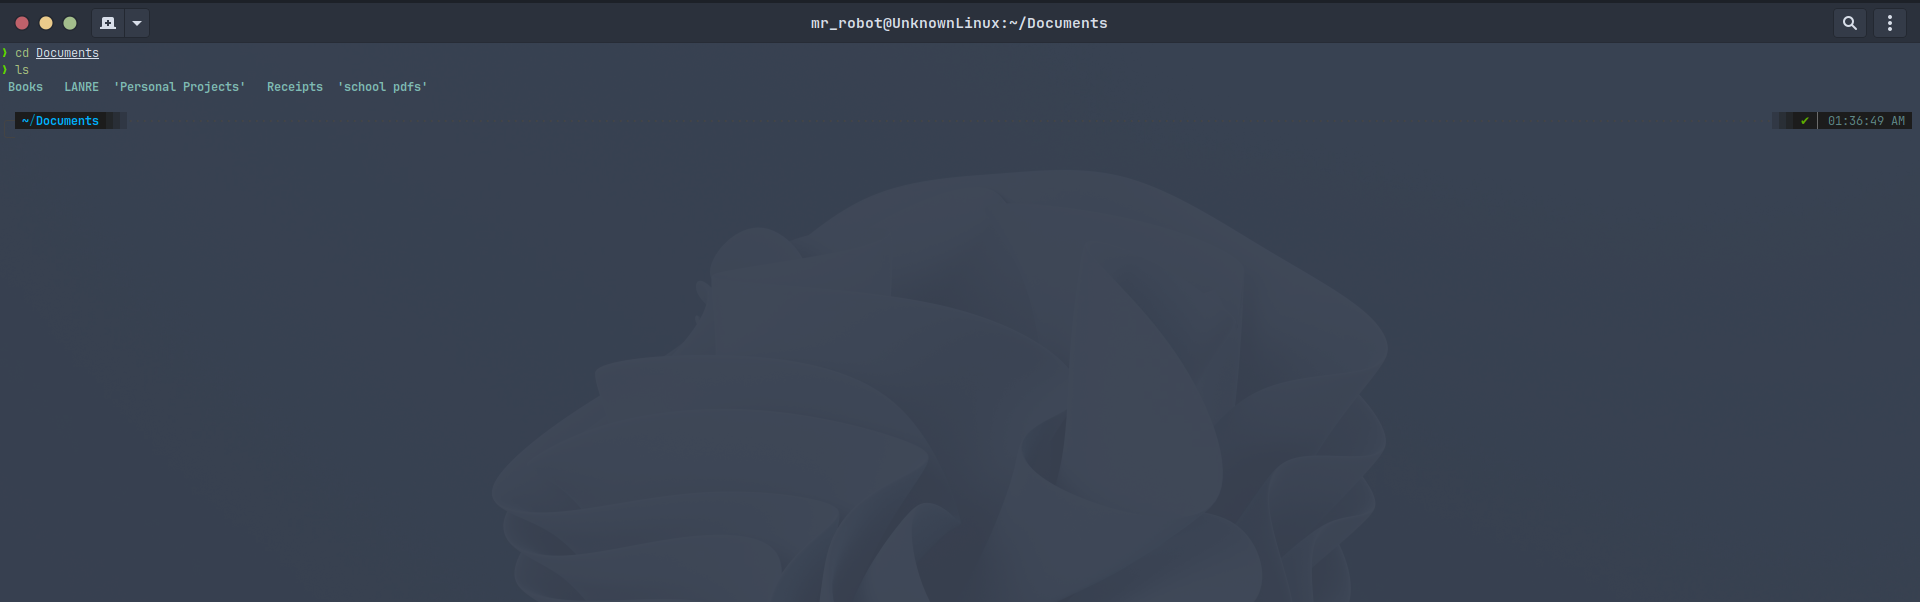
- Change Directory: command to switch from one directory to another.
cd Documents
Go back:
cd ..
- List Files: command to list the files & sub directories in a directory.
Linux/macOS:
ls
Windows:
dir
- Create Folder: command to create folders
mkdir my_project
- Check Git Status: command to check the status of the files & folders in a local git repo.
git status
- Clear Terminal: command to clear the terminal to have a fresh screen.
Linux/macOS:
clear
Windows:
cls
Step 5: Organize Your Project Structure
Don’t throw files everywhere.
Use structure.
Basic Python Project Structure
project-name/
│
├── main.py
├── README.md
└── requirements.txt
-
main.py - Entry point of your program.
-
README.md
Explains:
- What the project does
- How to install dependencies
- How to run it
-
requirements.txt
Lists dependencies:
requests
flask
beautifulsoup4
Install them:
pip install -r requirements.txt
Scaling Structure
As projects grow:
project-name/
│
├── src/
│   ├── main.py
│   └── utils.py
│
├── tests/
│
├── README.md
└── requirements.txt
Separation of concerns. Reusable components. Professional organization.

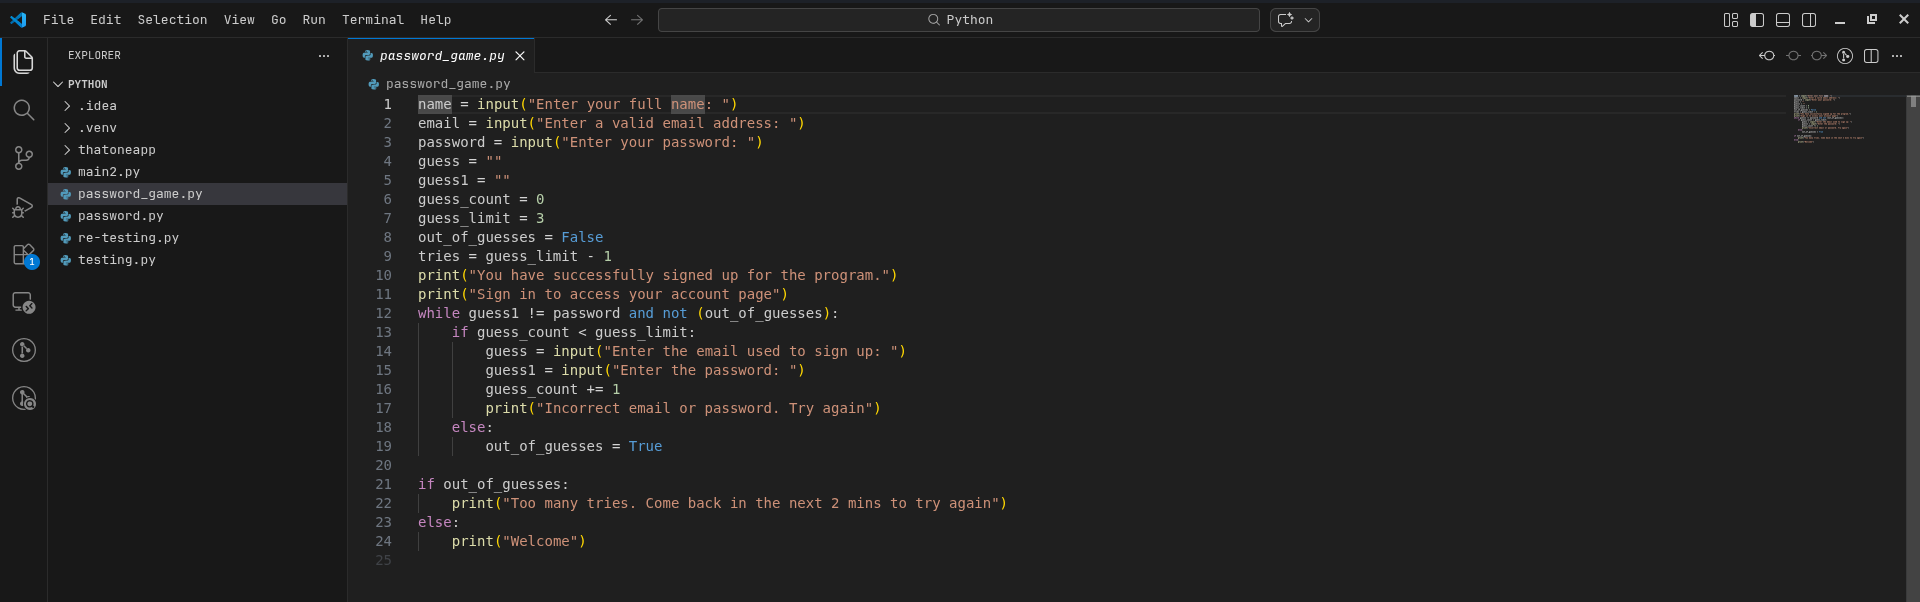
Step 6: Add Basic Security Awareness
Security hygiene matters from day one.
- Don’t Hardcode Passwords
Bad:
password = "mypassword123"
Instead:
- Use environment variables
- Use
.envfiles - Add
.envto.gitignore
- Keep Software Updated
Update:
- Your OS
- Python/Node
- VS Code
- Git
Outdated software = known vulnerabilities.
- Secure Your GitHub Account
Minimum best practices:
- Strong unique password
- Enable 2FA (Two-factor Authentication)
- Prefer SSH keys
Treat GitHub like your portfolio vault.
- Experiment With Beginner Security Tools
Examples:
- Password strength checkers
- Port scanners
- Dependency vulnerability scanners
If you want to learn more on the best free cybersecurity tools for beginners to use, click here
Common Beginner Setup Mistakes
-
Installing Too Many Tools
Why it’s bad:
- Creates conflicts
- Slows learning
- Causes confusion
Start minimal.
-
Skipping Git
Version control is not optional.
-
Ignoring Structure
Messy projects don’t scale.
-
Not Verifying Installations
Always check versions after installing.
Final Thoughts
A clean programming environment:
- Reduces frustration
- Builds professional habits
- Scales with you
- Future-proofs your learning
This setup works in 2026 … and beyond.
Build clean. Stay disciplined. Scale smart.